UltraLITE HD Programming Instructions
When programming a replacement headset, the “Main” unit needs to be cleared before a “Remote” unit can be linked to it. Follow the steps below to clear the “Main” unit. All remote units should be “OFF” before starting this process.
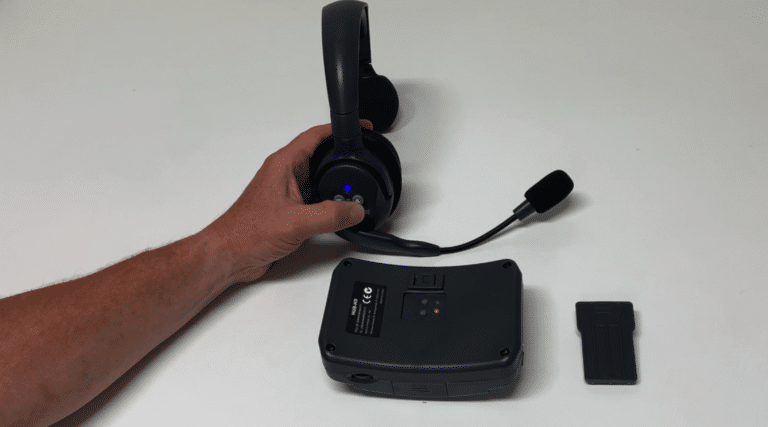
Install a battery in the “Main” headset and turn the power switch “ON”.
Depress and hold the programming button (blue/red LED) on the “Main” headset for five seconds. The LED will begin flashing blue & red.
Depress the programming button 7 consecutive times. The LED will begin to blink blue. The “Main” headset is now cleared and is ready to be paired to a Remote headset or UltraPak belt pack.
Now, you are ready to link remote headsets.
- Install a battery in the “Remote” headset.
- Depress and hold the programming button (blue/red LED) on the “Main” headset for five seconds. The LED will begin flashing. This indicates that the “Main” is ready to link to a “Remote” headset.
- On the “Remote” headset, press the volume DOWN arrow 3 times and then press and HOLD the volume UP arrow. Once the LED on the remote goes solid, release the volume UP arrow.
- The pairing process can take anywhere from 5-30 seconds. When the “Main” unit links to the “Remote” UltraLITE headset or UltraPAK belt pack, the LED will flash twice quickly, then turn solid blue. The “Main” headset will go from a flashing LED to a solid LED. When both LEDs are solid blue, the units are linked together.
In order to program additional headsets, power down the “Remote” headset and repeat steps 2 and 3.
*Each “Main” headset can have up to 4 UltraLITE remote headsets or UltraPAK belt packs linked to it at one time.